

For this project, you'll need fabric, fabric adhesive, computer paper and ink, scissors, and thread to match your fabric.
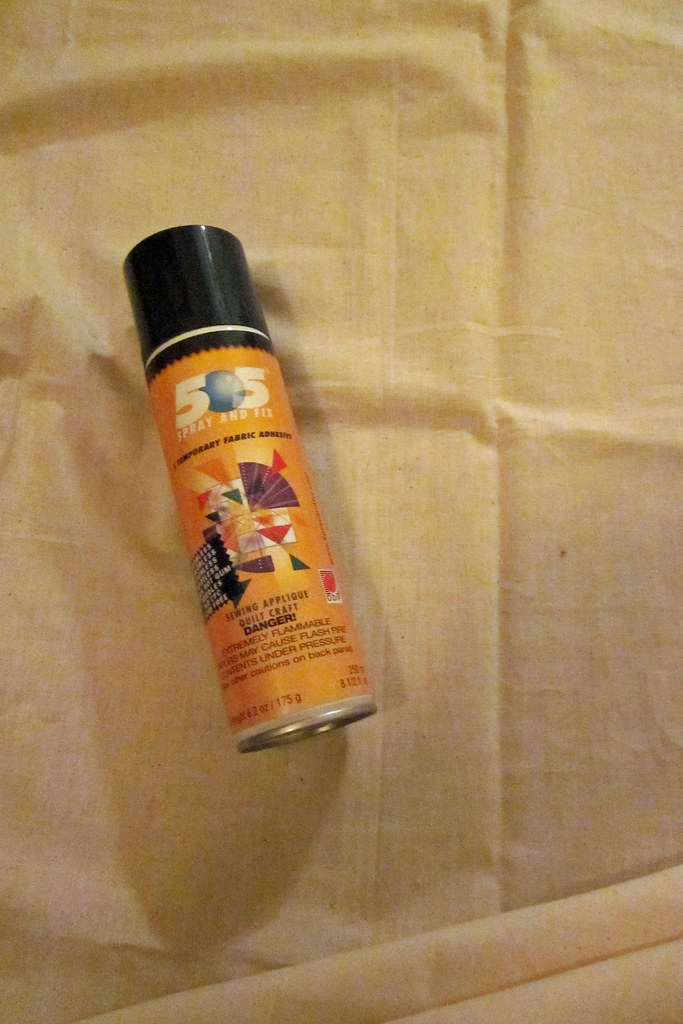
Start by adhering your fabric to the computer paper using the fabric adhesive. Trim the fabric to the exact dimensions of the paper with your scissors. On your computer, layout your labels using a program like Microsoft Word or Adobe Photoshop. Make sure to insert the paper-backed fabric into your printer the correct way to print on the fabric side and print using the best quality standards.
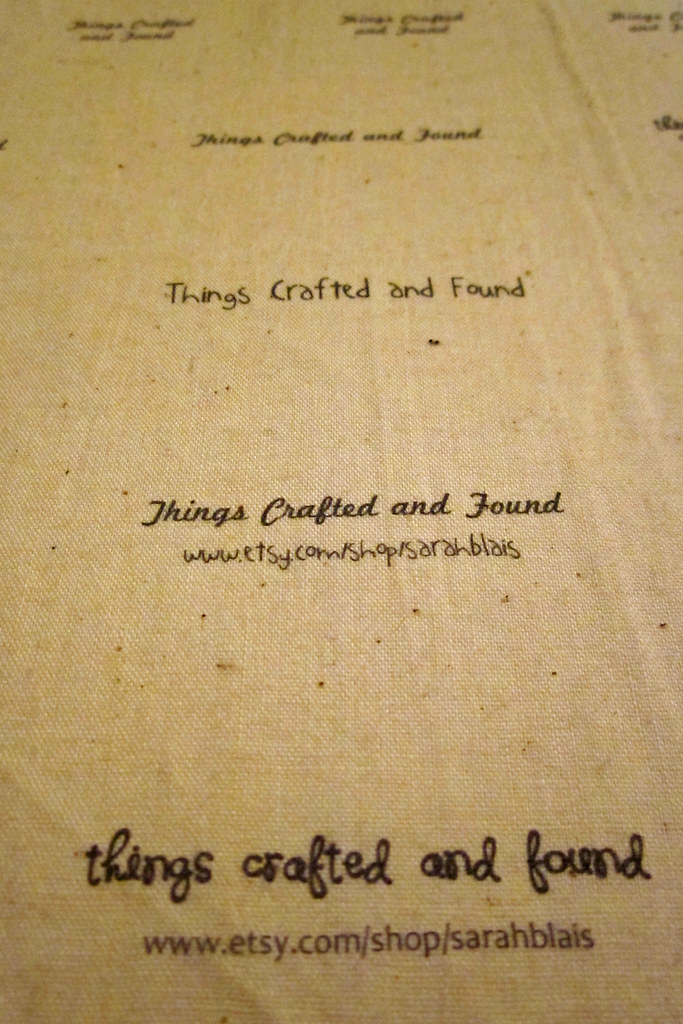
After printing, remove the paper backing and cut out the labels leaving about 1/4 inch on all sides for hemming. Iron the long sides of your label to create the hems and use your sewing maching to stitch. You can leave the shorter sides unhemmed for now and later use those sides to attach the label.
No comments:
Post a Comment